Forehead Bandage: Typical Use – Lacerations
Step
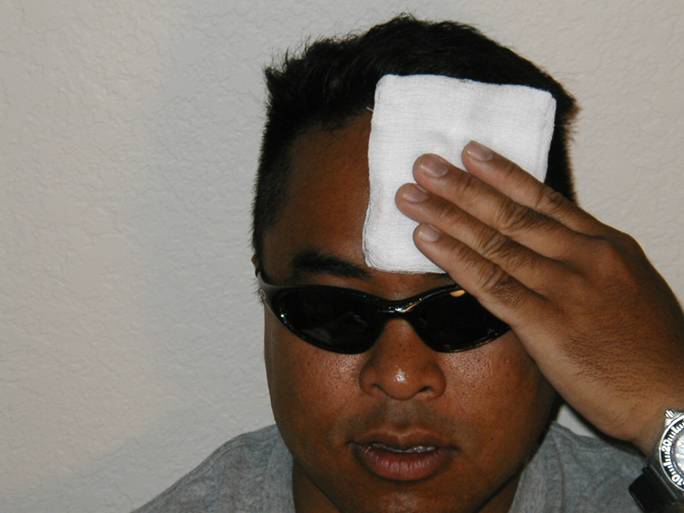
1: Make sure you’re practicing proper BSI procedures.
Place
a 4x4 gauze onto the injury, or better yet, get the
patient
to do it!
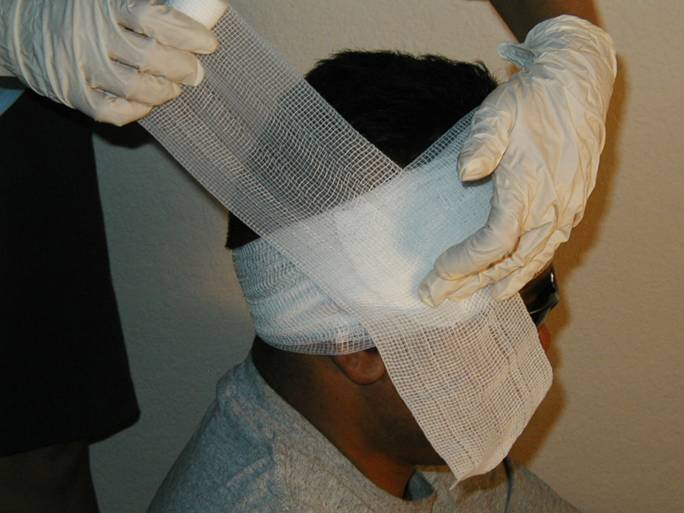
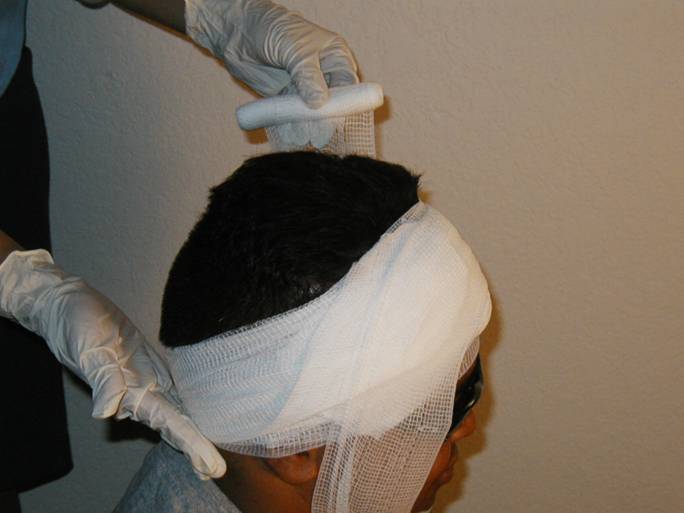
Step
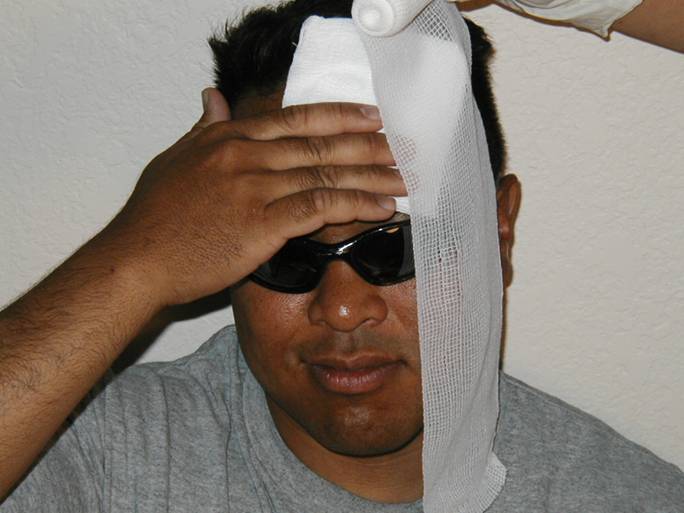
2: Make a “Tail” on the roller gauze so the bandage
can
be secured and won’t come undone.
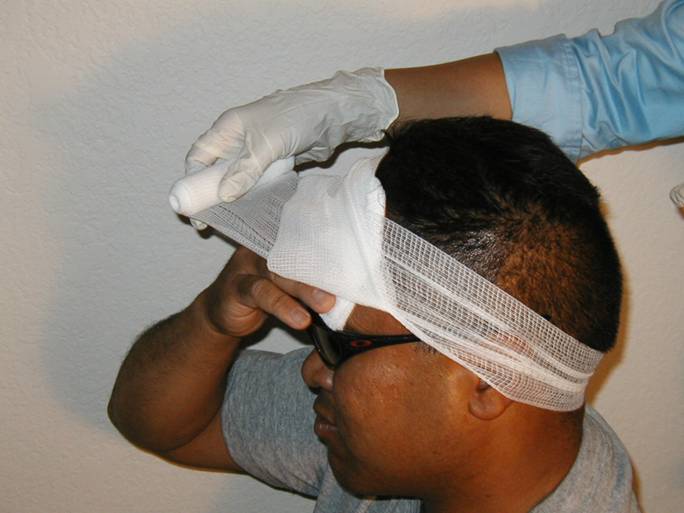
Step
3: Wrap around the “Tail” on the first
pass and fold
over
the “Tail” after the first pass. Make sure you go low
over
the base of the skull.
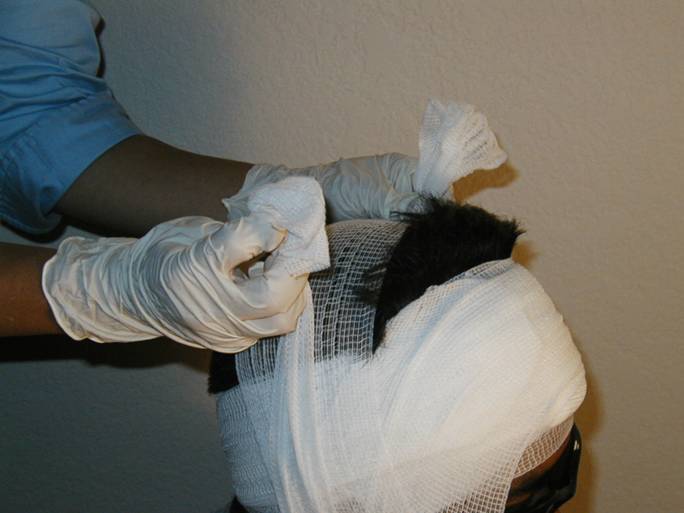
Step
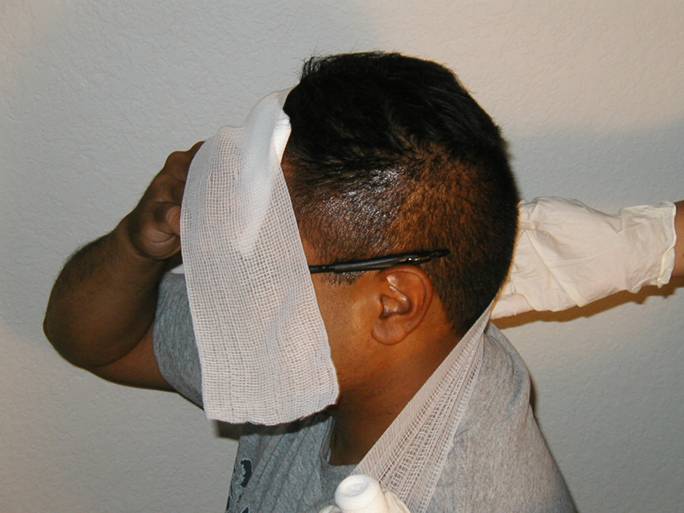
4: After the first pass, bend the tail back.
Step
5: Tail bent back.
Step
6: Use half twists of the roller gauze to insure the
bandage
is tight and conforms to the contours of the scalp.
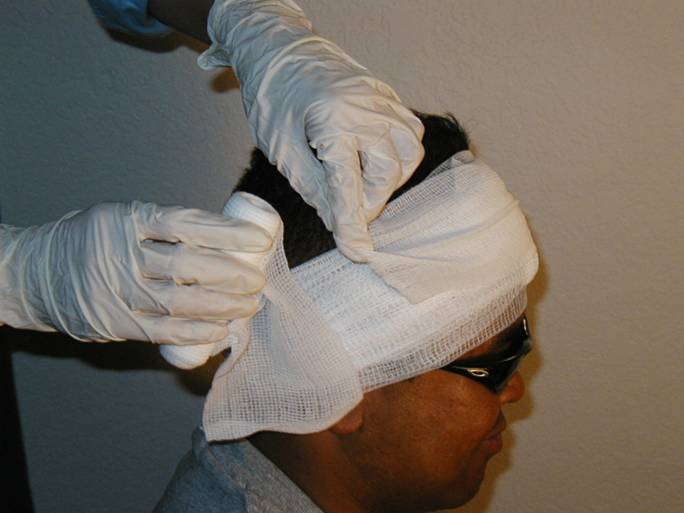
Step
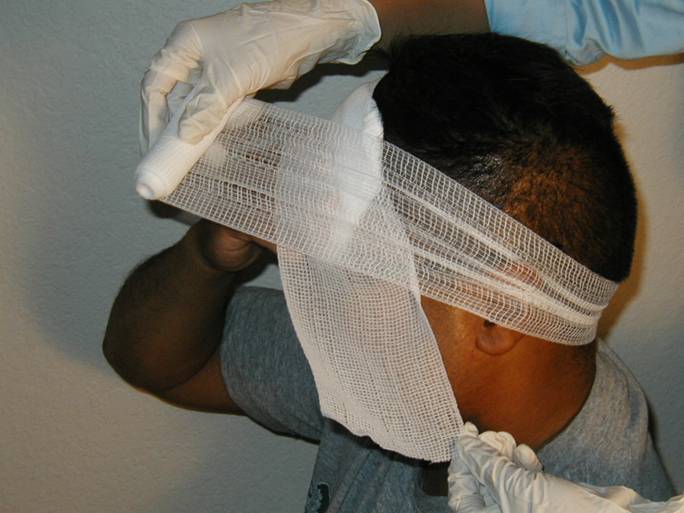
7: Fully cover the bent back tail on subsequent
passes.
Be careful to keep the bandage out of the eyes
of
the patient.
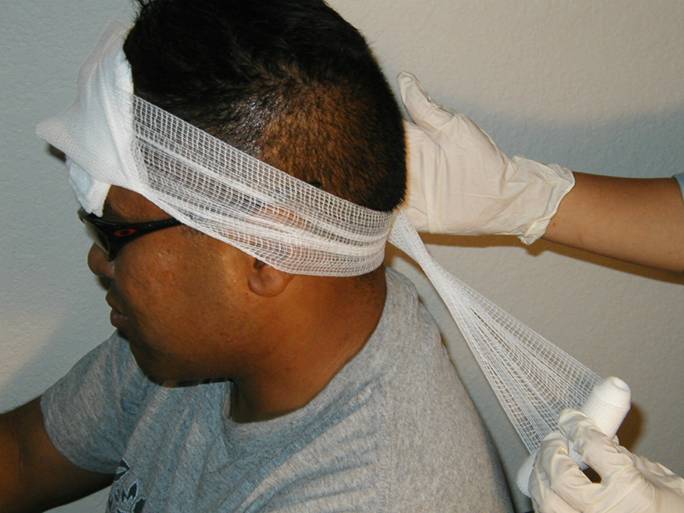
Step
8: Most head bandages are going to require two
roller
bandages to complete effectively. When you run out
of
the first roller bandage, get a second one and re-start
making yet another tail..
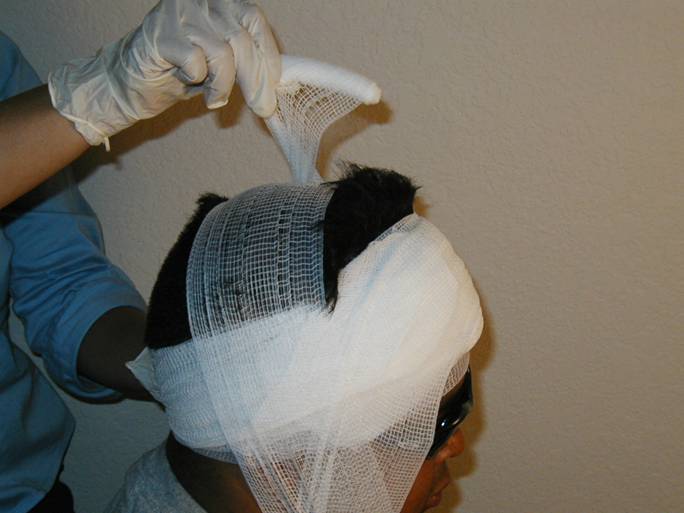
Step
9: Start a new roller gauze tail.
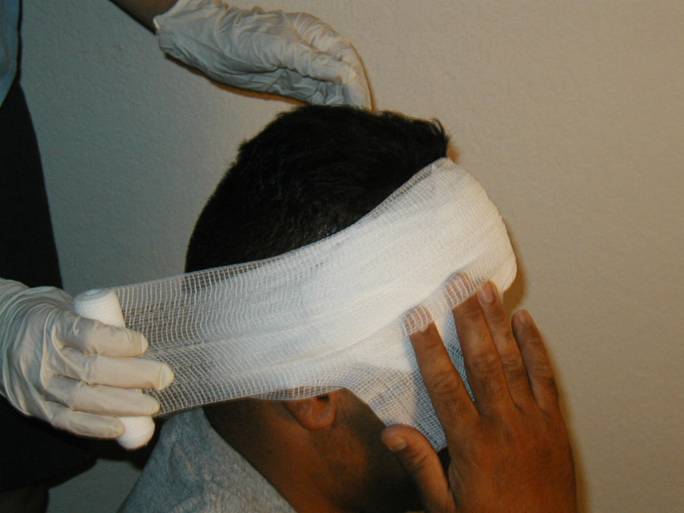
Step
10: Don’t be afraid to ask the patient for their help in
stabilizing
the bandage.
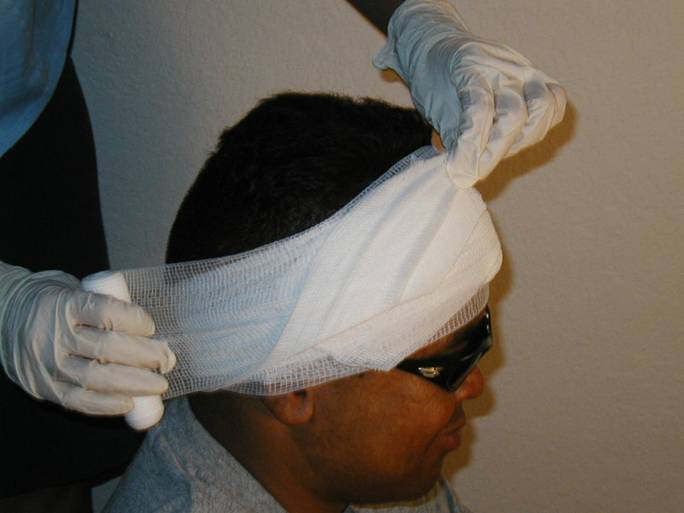
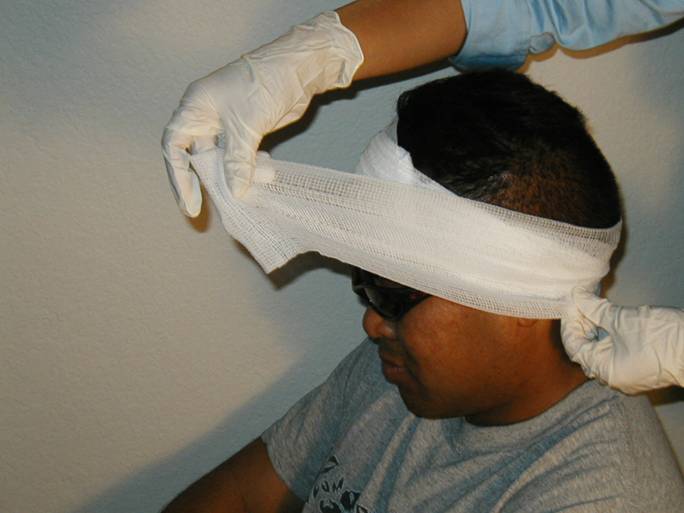
Step
11: Pull up the tail after the first pass of the second
gauze
wrap.
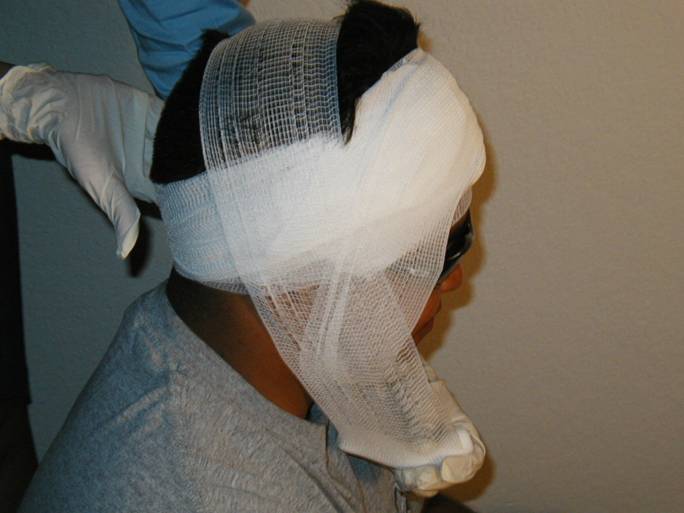
Step
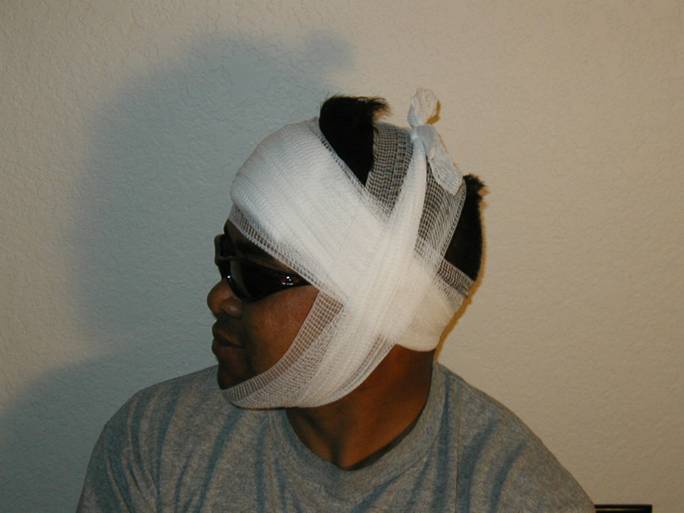
12: ON the next pass which would cover the tail, start
down
under the chin and come back up over the head.
This
will fully secure the bandage in place.
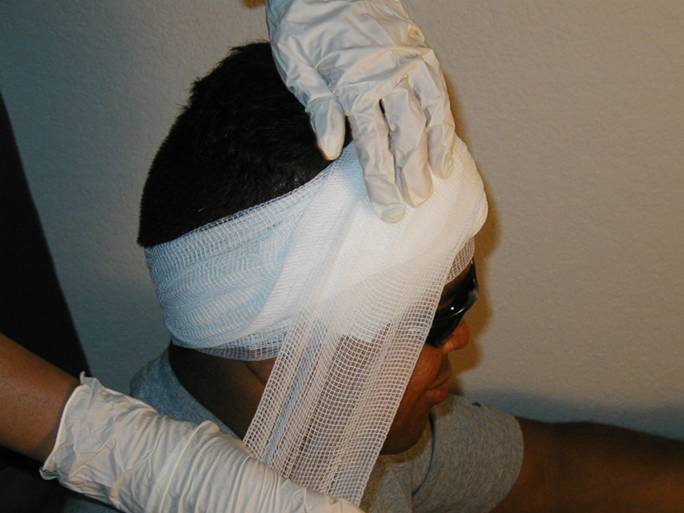
Step
13: Come over the top of the head and go back under
the
chin, taking care to not obstruct the windpipe.
Step
14: Under most circumstances, your patient should
remove
any eyewear they would have on, but in this case
our
patient was a “reluctant” contributor. ;-)
Step
15: Don’t forget to periodically do half twists of the
roller
bandage to secure it to the contours of the head.
Step
16: Unroll the remainder of the bandage and loop it
down
under the patient’s chin and tie it off on the top of
the
head. If the patient has a hat, replace the hat on top
of
their head.
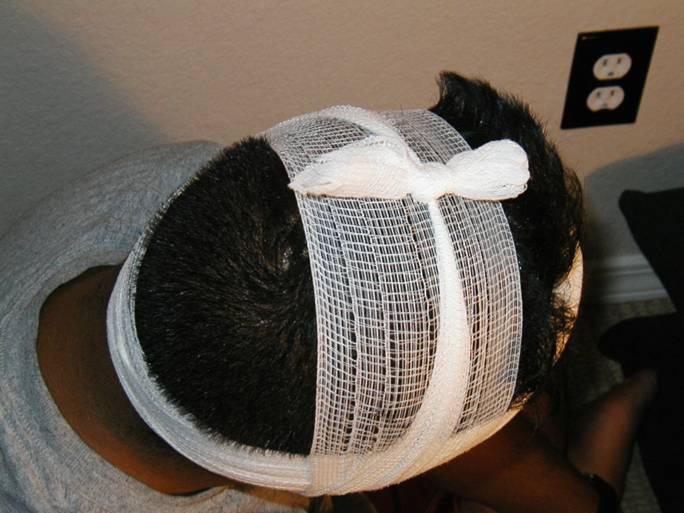
Completed
bandage.
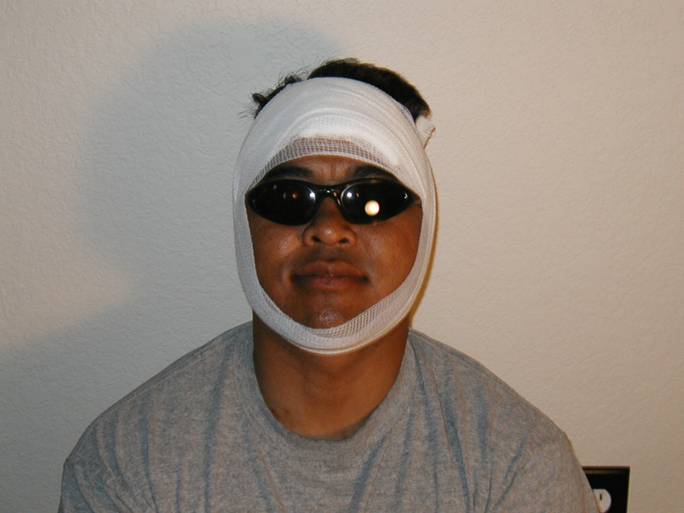
Completed
Bandage – Note bandageis not in the patient’s
eyes.
Creating
bandages of this nature hold the original dressing
on the forehead in place.