Palm
Bandage: Typical Use - Lacerations
Step
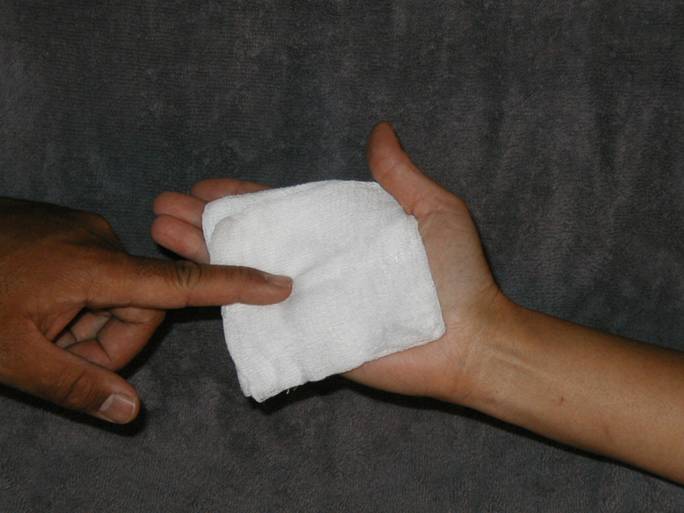
1: Make sure you’re practicing proper BSI procedures.
Doh!
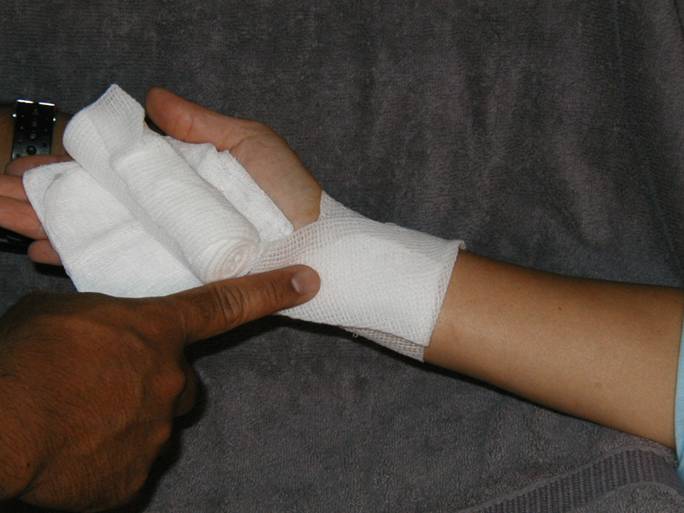
Place a bandage over the wound.
Step
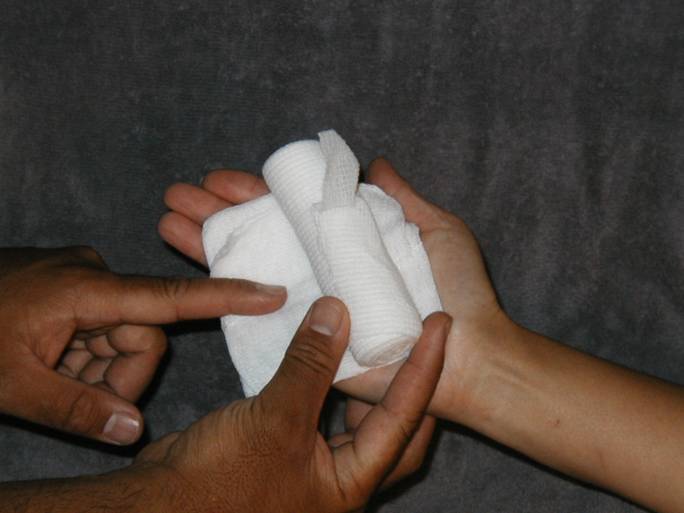
2: Insert a roller into the palm to provide pressure over
the injury.
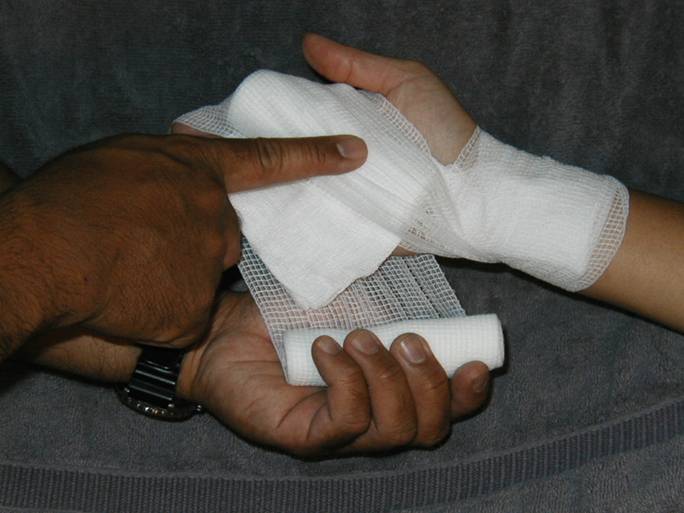
Step
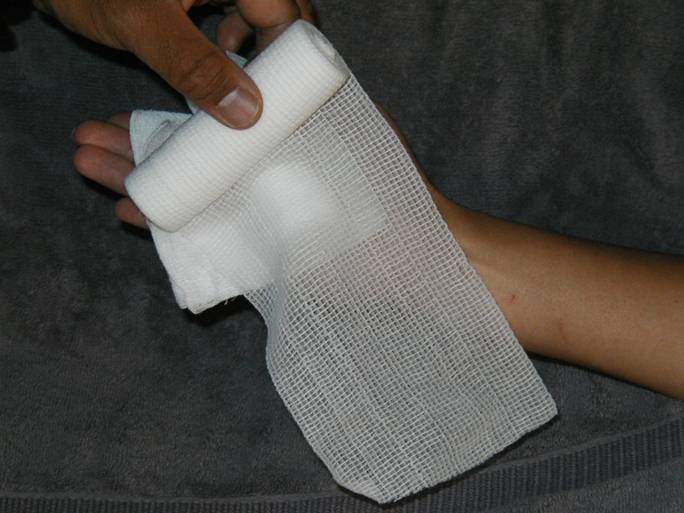
3: Make a “Tail” on the roller gauze so the bandage
can
be secured and won’t come undone.
Step
4: Wrap around the “Tail” on the first
pass and fold
over
the “Tail” after the first pass.
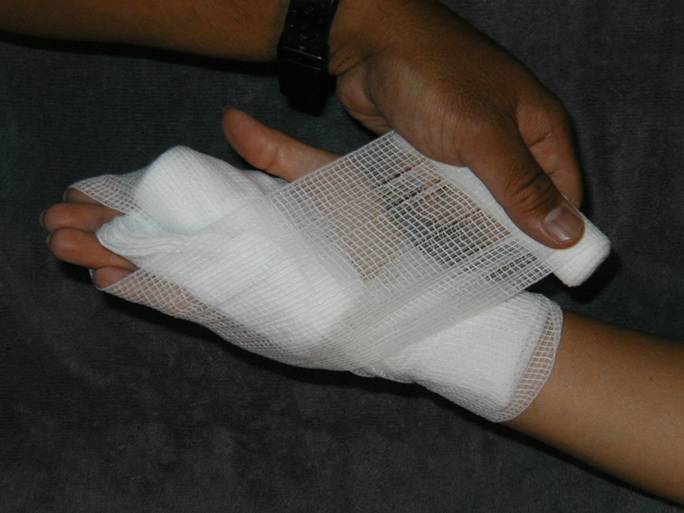
Step
5: Wrap over the bent back portion of the “Tail” to
secure the end of the roller gauze.
Step
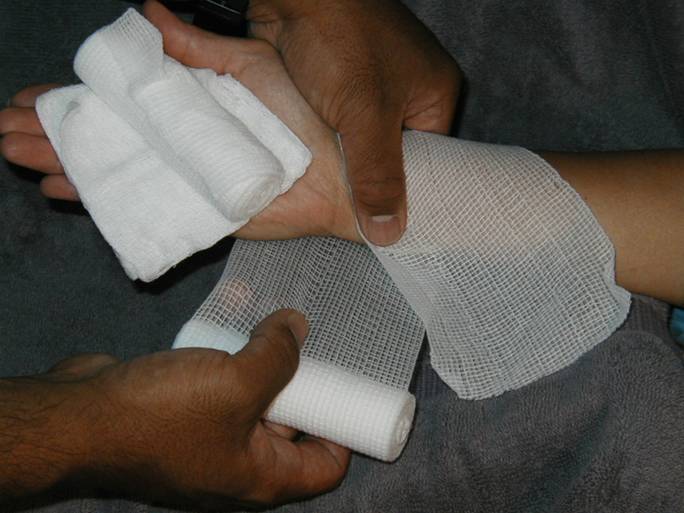
6: Start a figure 8 bandage around the wrist and over
the
injury.
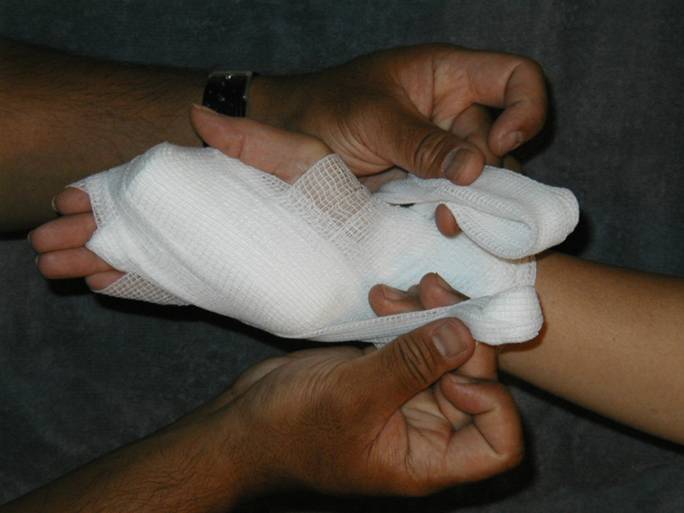
Step
7: Continue Figure 8 bandaging around the wrist and
over
the injury of the palm. Remember to do periodic half
twists
of the roller gauze to tighten the bandage. This can
be
done over the roller gauze to apply more pressure on the
wound, or over the back of the hand.
Step
8: Tie off the roller gauze by opening up the
remainder
of the roller gauze and making a loop under
the
wrist. Tie the two ends of the gauze together in a
bow tie.
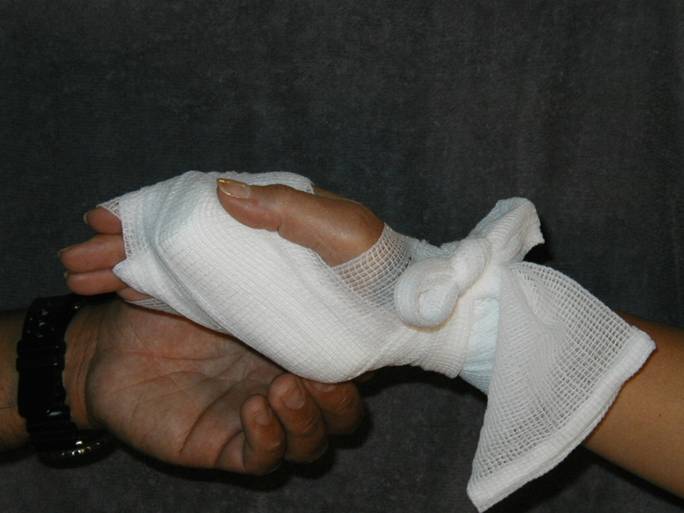
Completed
bandage maintains pressure on the wound and
will not slide off the finger.