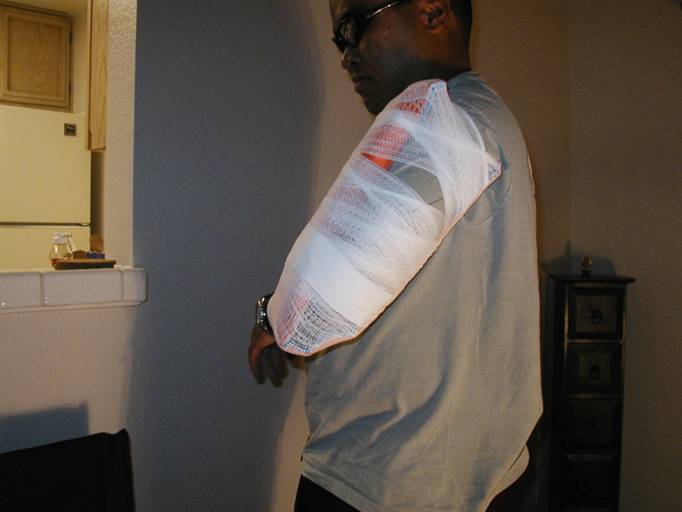
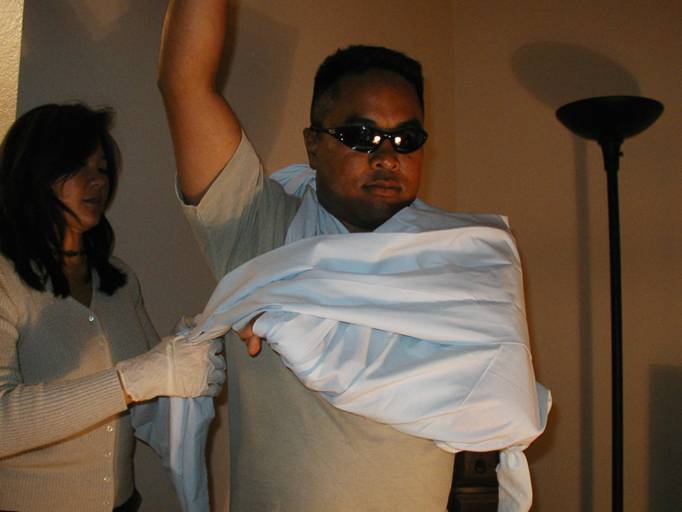
Humerus Splint
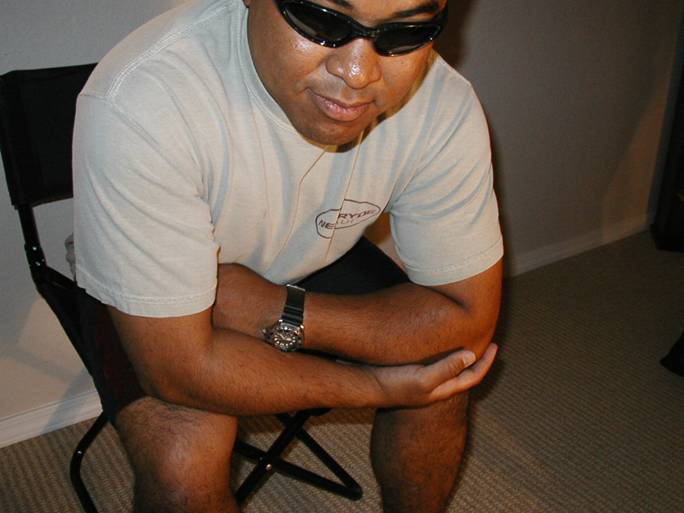
Injury
is typically presented as self splinting. Position of
comfort.
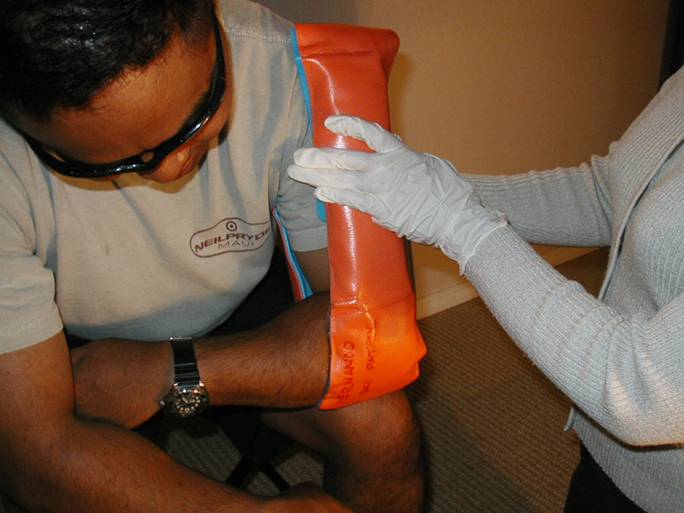
Measure
the splint near the patient’s arm for best fit.
over the top corner so the splint rests
comfortably in their
arm pit.

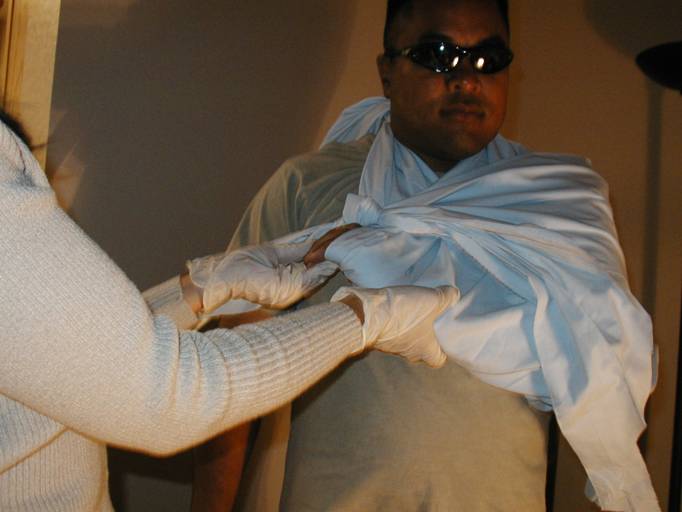
Apply
the splint so that there is about 2 fingers worth of space
under the elbow. Make certain the SAM is rigid by
making
aggressive folds on the “sugar tongs”.
Always
get the patient’s help if possible.

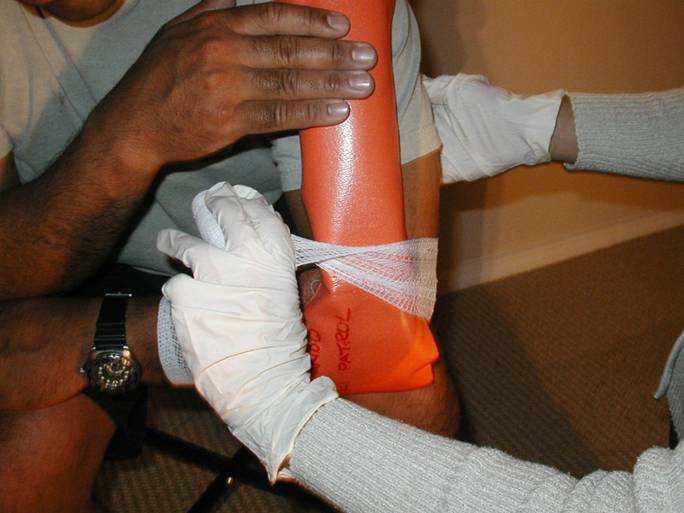
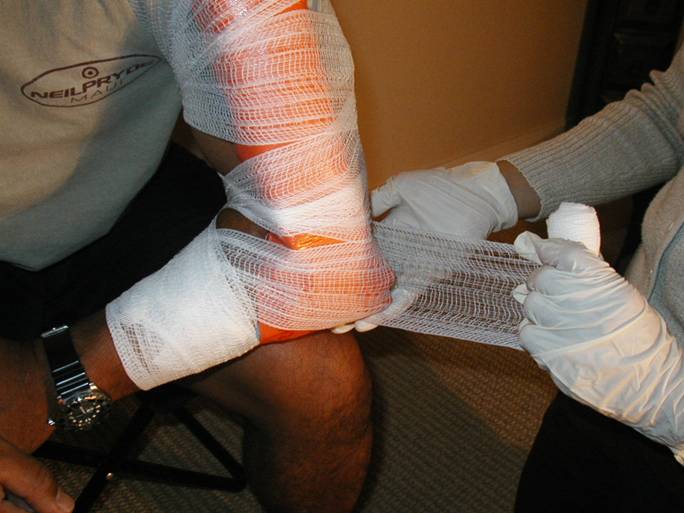
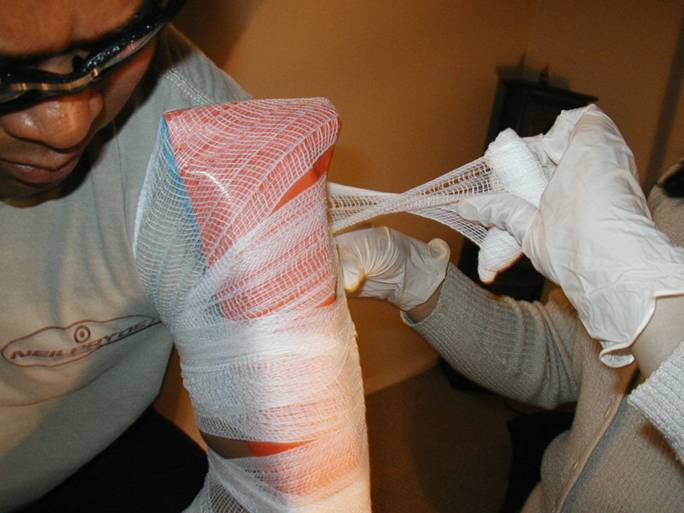
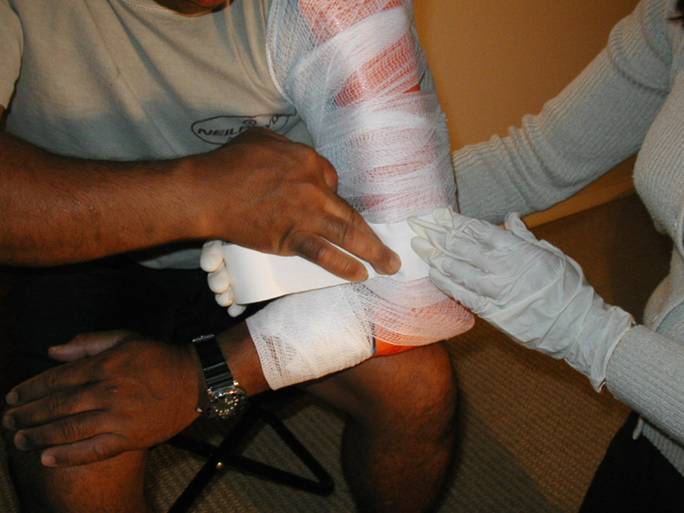
Start
securing the splint with roller gauze on the wrist.
Start
with a “Tail”…..

Secure
the “Tail” and start a figure 8 wrap around the splint.
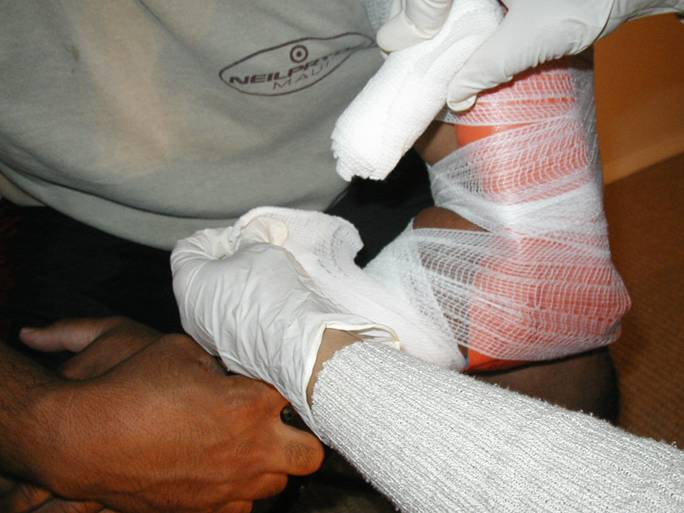
This
is a splint, make sure it is securely held in place by
twisting bandages, no less than every other wrap.
Your
goal is to get to the top of the splint which is covering
the joint as quickly as possible. To do this,
you will NOT be
over-wrapping the bandage as you go up. Leave gaps.
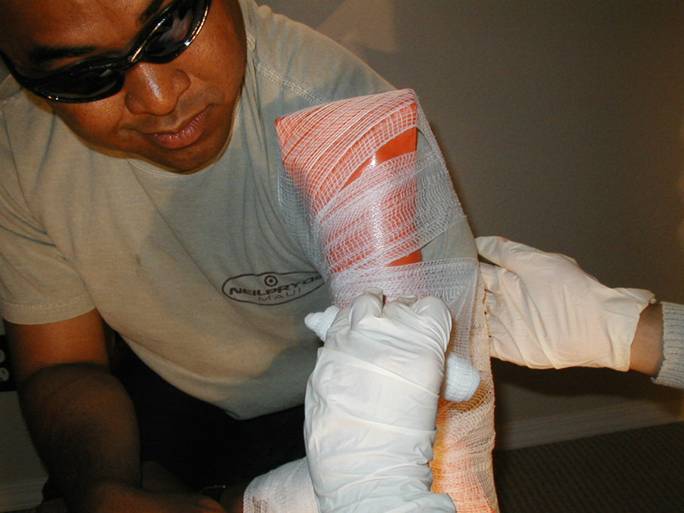
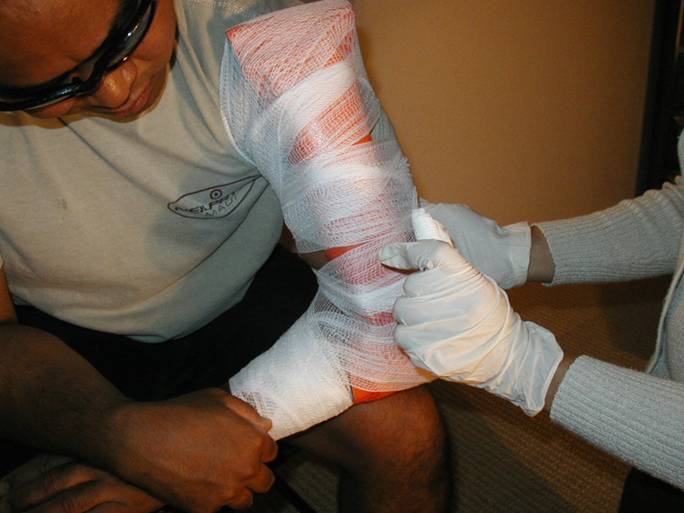
Remember
to twist to secure the bandage in place on the
splint.
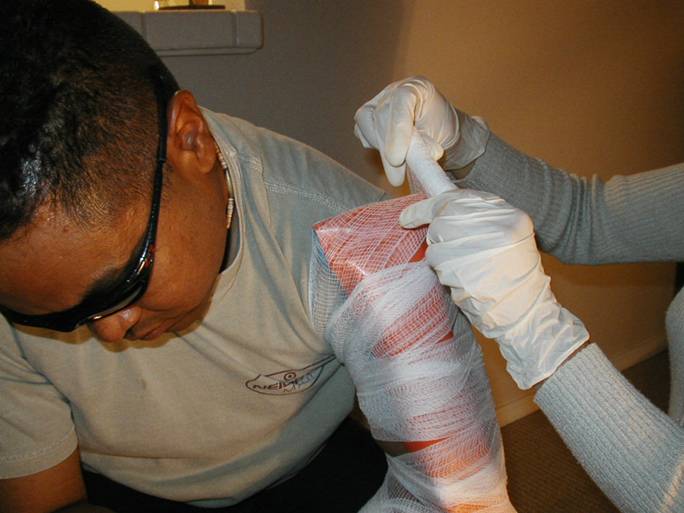
Once
you reach the top of the splint, go over it with the roller
gauze and start back down again.
Fill
in the gaps which you created on the way up the arm,
remembering to twist the gauze to make it secure.
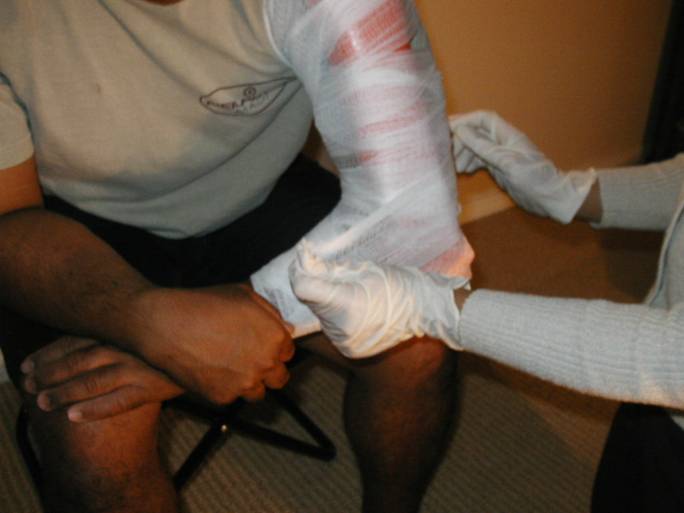
When
you get back down to the forearm again, you might
want to add a second roller just to fully secure
the splint.
Start
another “Tail”…
Secure
the “Tail”.
Start
figure 8 wrapping around the arm and the humerus
again.
Go
back up the arm one more time, filling in any spots which
are not covered/secured.
Remember to twist the friggin’ roller!!
There
you go!!
Over
the top again..
Finally, back down the arm again…
If
you don’t have enough left to tie it off, just use Tape, but
make sure you use enough to hold it into place.
Tape
really only will stick to itself when it’s wet out, so
you need to carefully circle the arm making sure
you’re not
cutting off the circulation. (Don’t wrench it down).
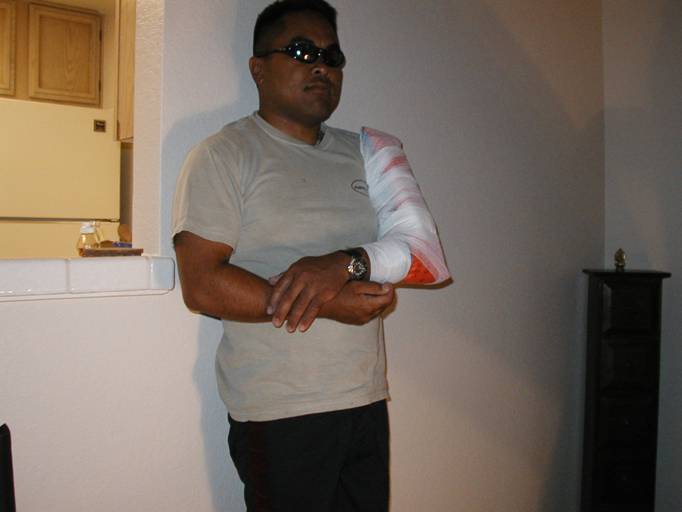
Completed
splint.. This splint easily will pass the “rub test”
meaning you can run your hand up and down it and it
won’t come apart or loosen.
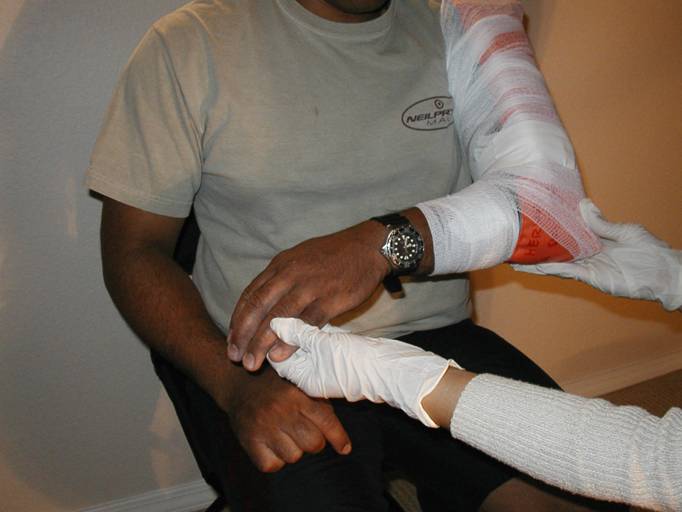
Always
remember to check CSM before and after splinting.
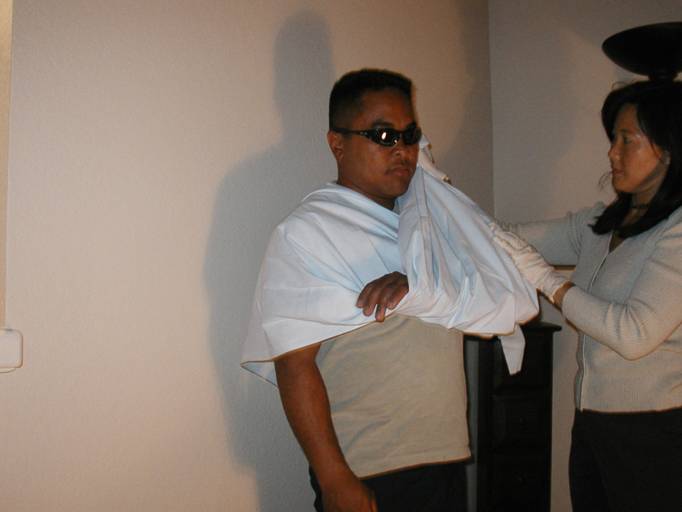
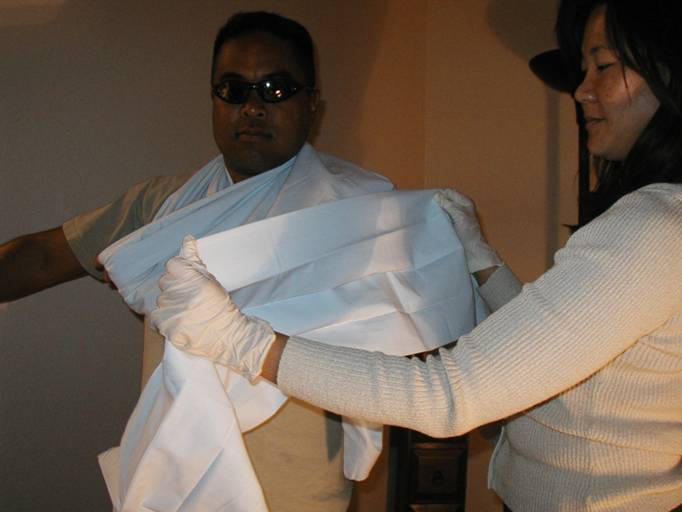
Get
the patient to help while you get your “monster cravats”
out.
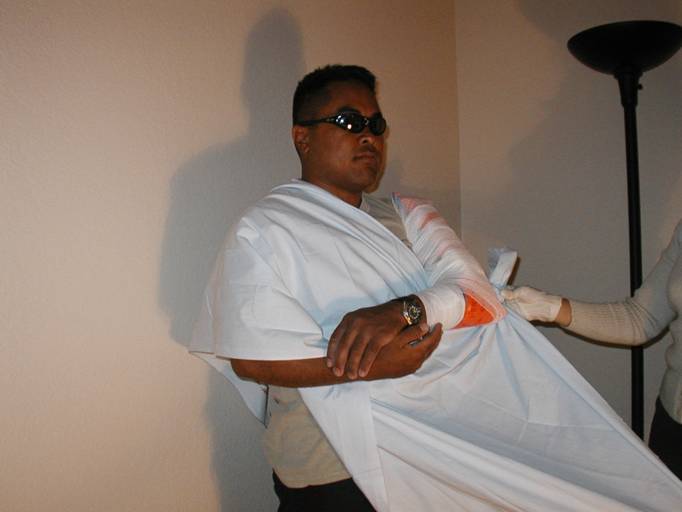
Tie a not in the corner of the sling (at end of triangle).
Pull
up the sides.
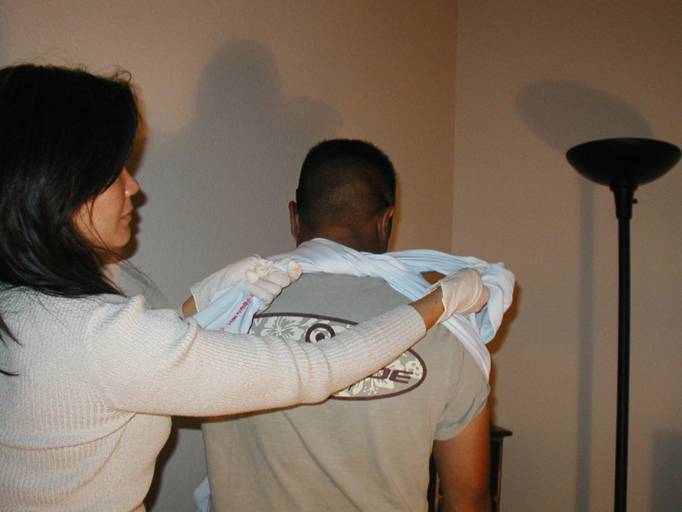
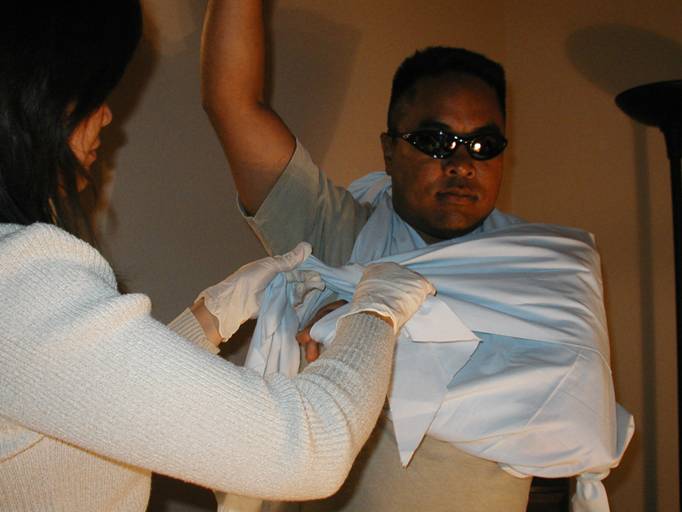
Square
not in the back, try to get it to the side of the patient
so they don’t sit on the knot when riding down in the sled.
Patient
no longer needs to support injury once it’s in the
sling.
Use
a second cravat for a swath. However, open up this
cravat double-wid so that
the force is distributed evenly over
the injury.
Opening
the swath wide allows you to secure the sling to
the patient without causing pain on the injury
site.
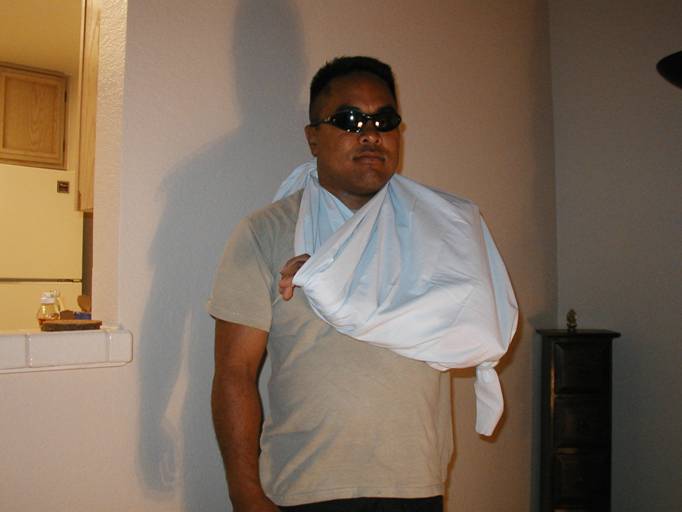
Square not in the front for patient comfort.
Completed splint with sling and swath.