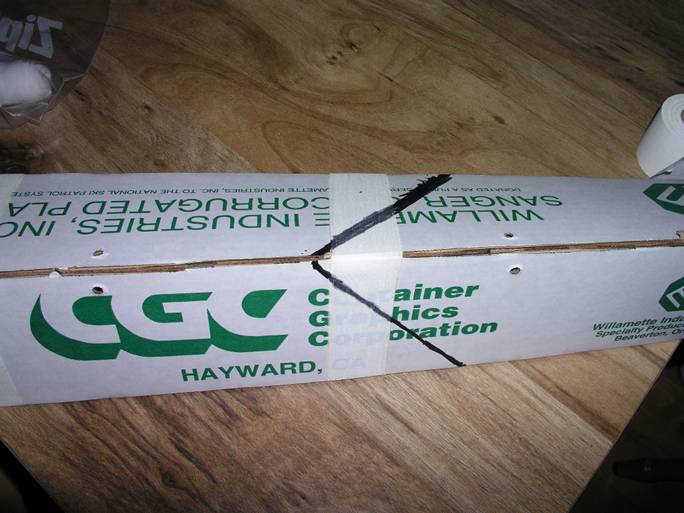
Posterior Shoulder Dislocation: Airplane Splint
Setup
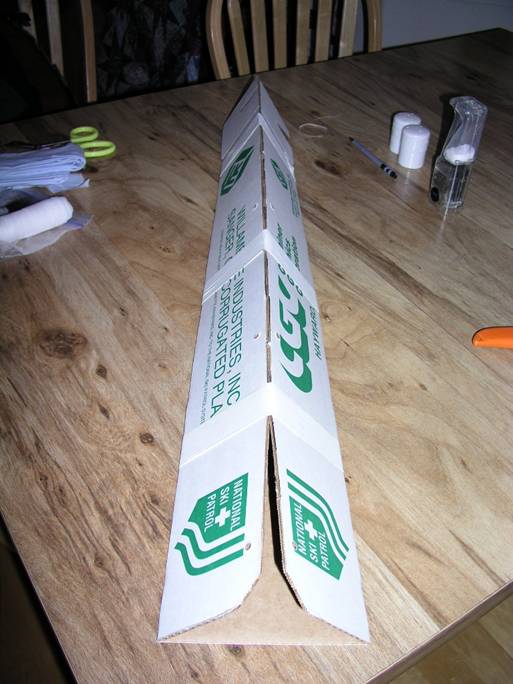
the splint. Tape the cardboard into a large
triangle
in at least 3 places. Don’t worry about
where
you tape for now. We’ll fine tune that later.
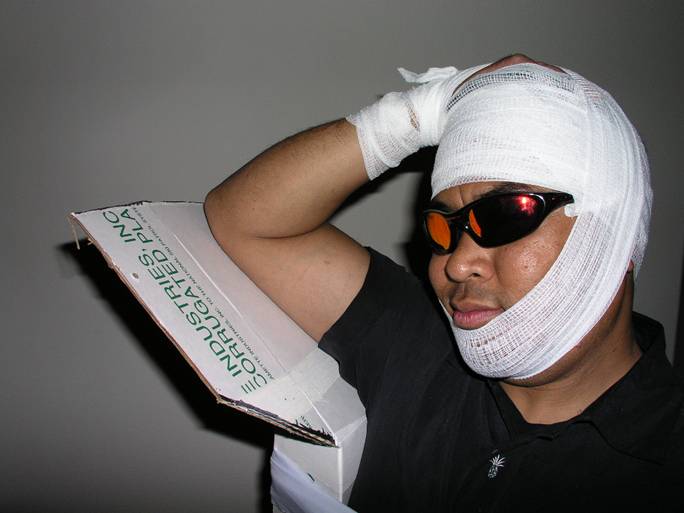
Patient
will present themselves with dislocation
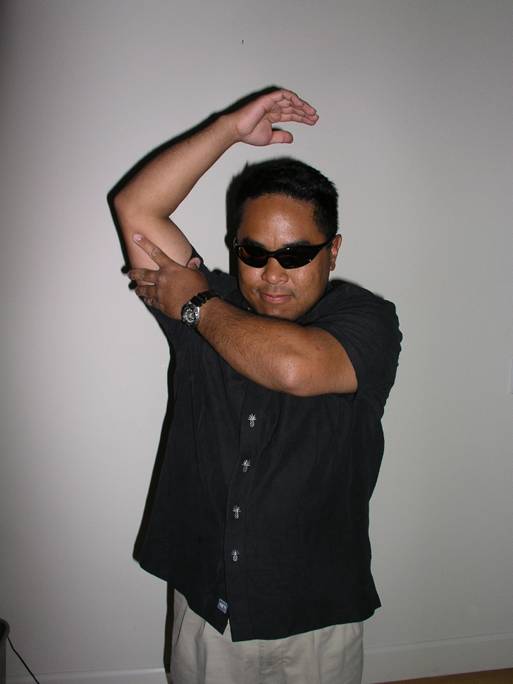
which
prevents them from lowering their arm.
First
priority, check for bleeding by going to
skin
and then check CSM.
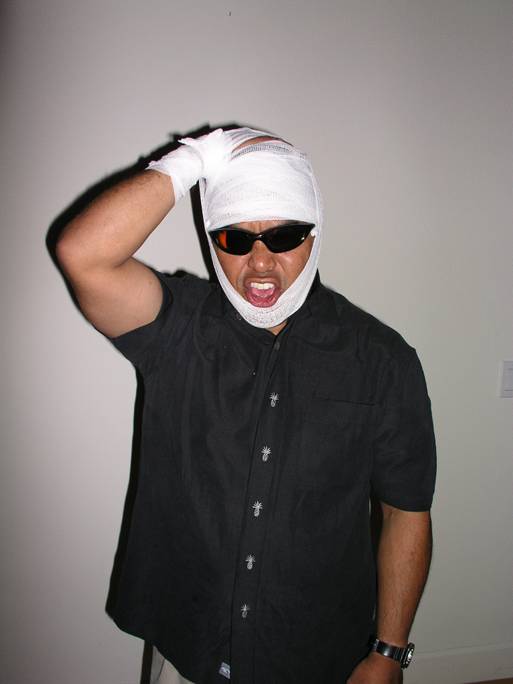
Secure
the arm to the head using a figure 8
bandage
of the head and the wrist.
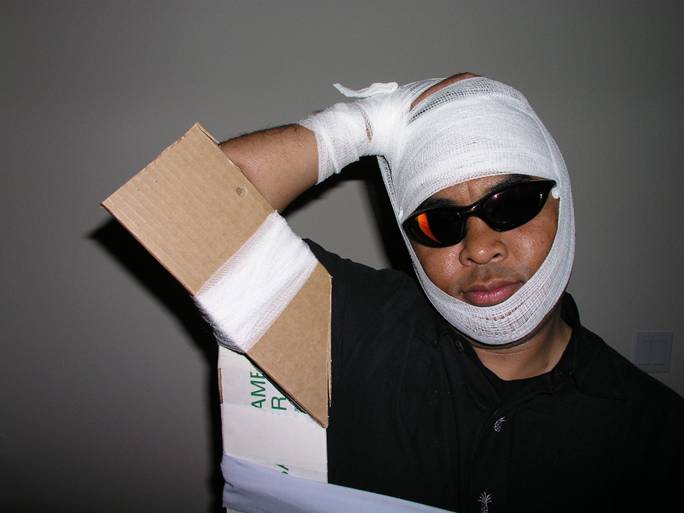
Tie
a cravat around the patient’s waist and then
bring
in the cardboard. Insert the cardboard into
the
waist strap and check for alignment. Use
your
sharpie pen to mark the angle of the arm
which
you want to replicate.
Use
your sharpie to draw in the other side of the cut. In this
instance
we need to add more tape otherwise we’ll cut away
almost
all the holding force of the existing tape.

So
no big deal, just add another tape band to the splint.
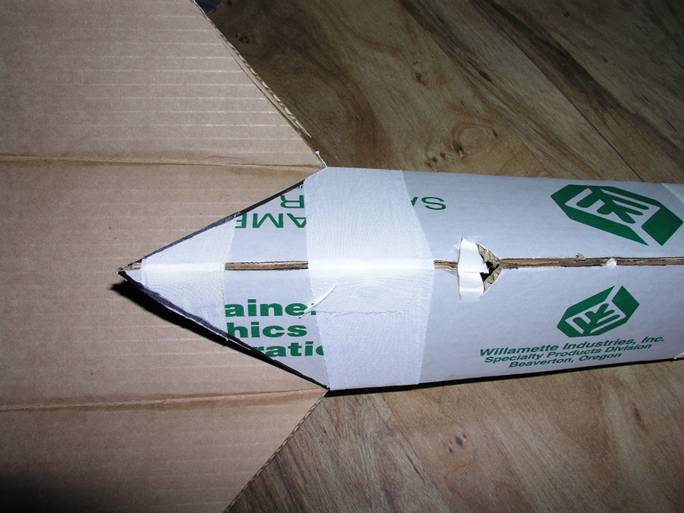
After
cutting the splint, just open the top of it. You also want
to
make a “notch” in the side of the splint to keep your cravat
from sliding down the splint.
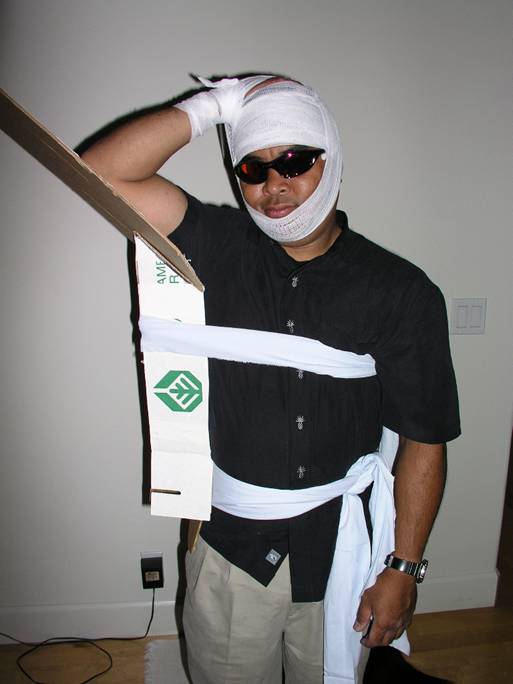
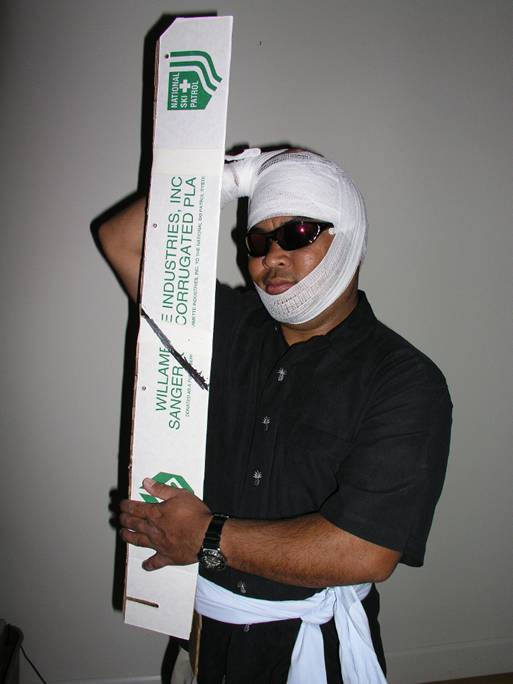
Put
the splint on the patient at the waste and
then
attach a sling around the chest to hold it
in
place and support the arm. Lock this cravat
into
the notch that you cut on the side of the
splint.
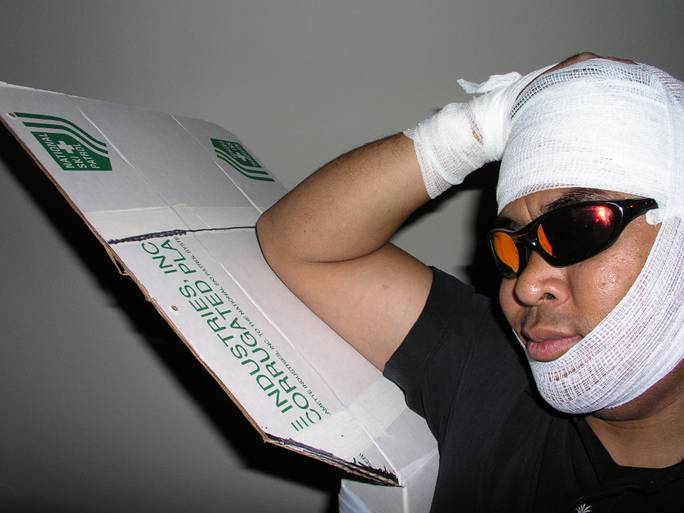
The
splint portion which covers the arm ought to be cut to
size.
Since it’s on the patient, you cannot use your knife,
but
paramedic shears are fine. Just mark a line with your
sharpie
and then cut it off.
Wa-la!
Now
secure the arm in place with another roller bandage and
you’ll
be set. Ideally we should add carpet padding if we have
it
to make the best fit possible.
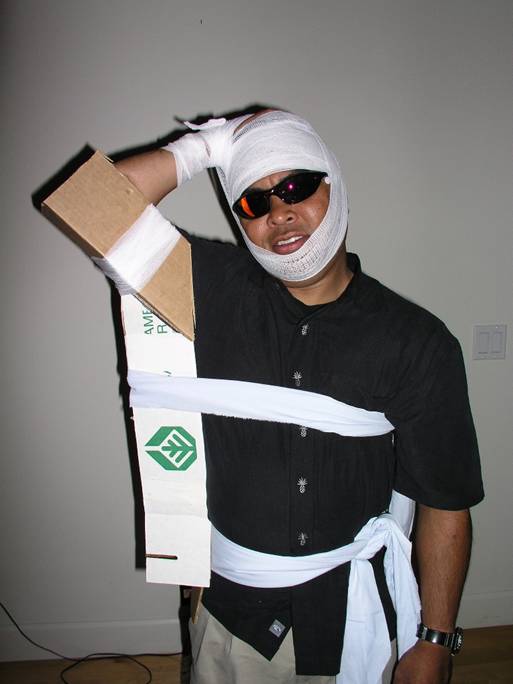
The
completed spint supports the patient’s
arm
in the position found. There is nothing to
sling
and swath. It’s already packaged to go
into
the toboggan sitting in a chaise lounge.
Just
check CSM once more and you’re good
to
go.