Sager Traction Splint: Mid Femur Fracture
Sager
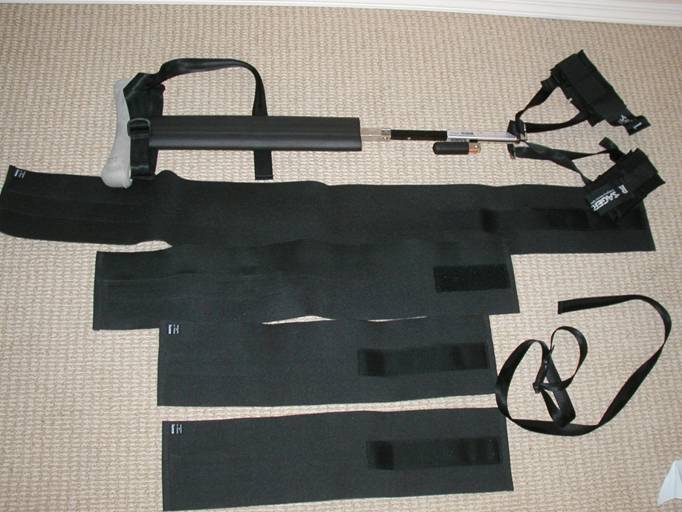
bi-lateral traction splint comes with 4 bands: 2 short,
one
medium, one large and one huge. Since it’s bilateral,
it has two booties. One for each foot.
Bilateral
sager never needs to have the head reversed, but
it
is useful to make sure the D rings are both at the top of
the splint and that the bottom flexes.
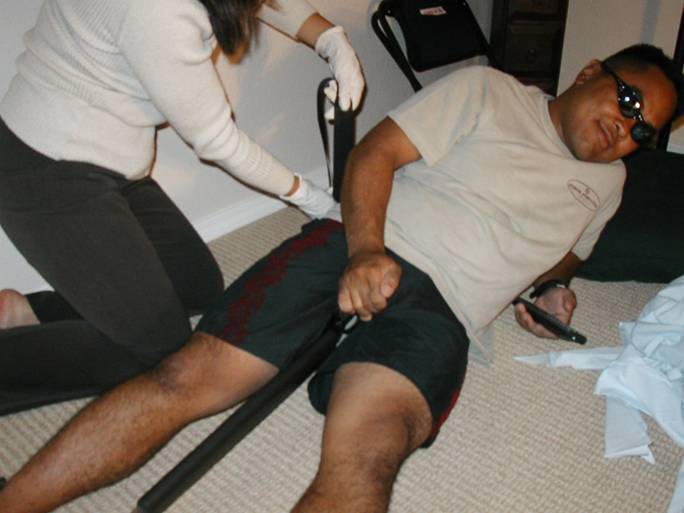
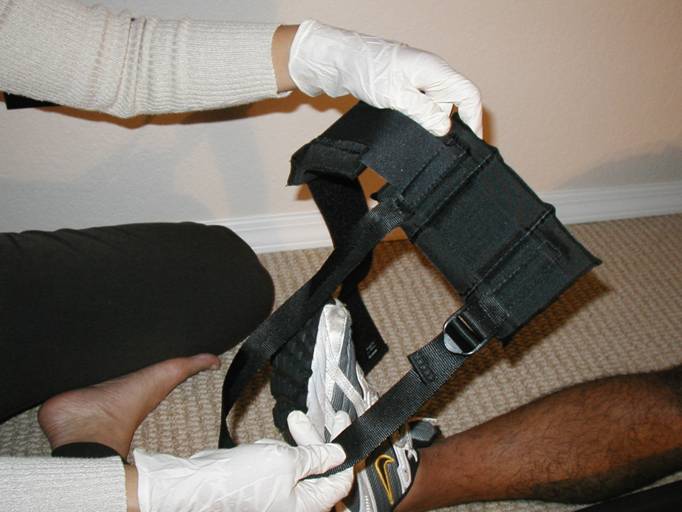
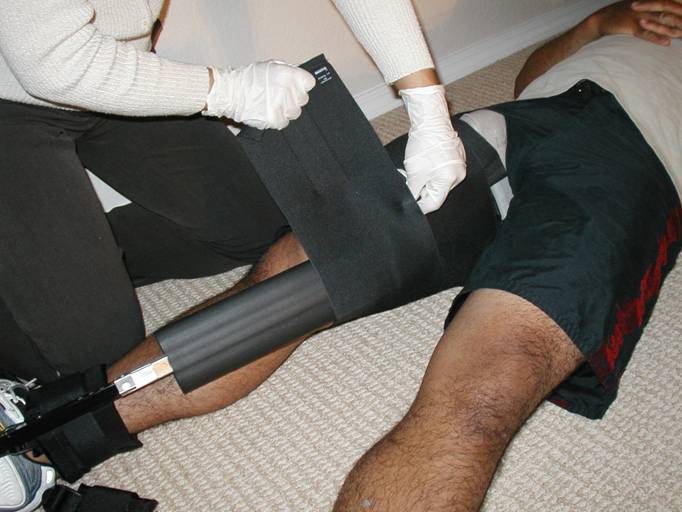
Put
the splint between the patient’s legs and ask them to
pull
it into their crotch as far as they can. For guys, make
sure
the make the necessary “adjustments”.
Try
to get the sager belt as high on the top of the thigh as
possible.
It’ll slip down somewhat as you tighten it so the
higher
you start up the better off you will be. As you tighten,
pull
from the bottom to get the splint to curve over under
the leg.
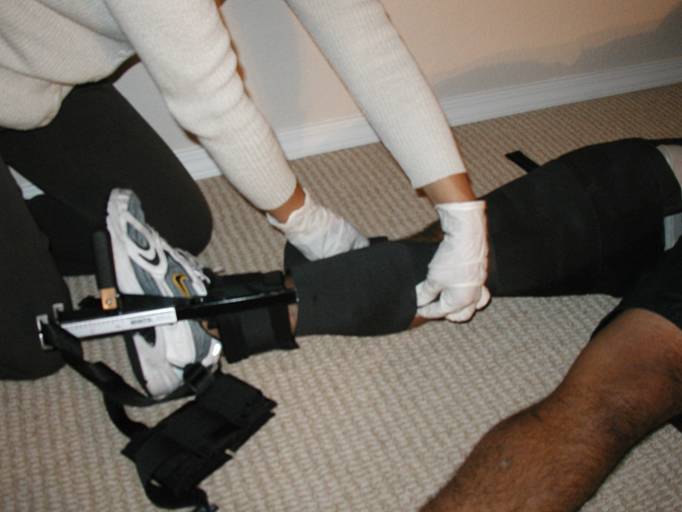
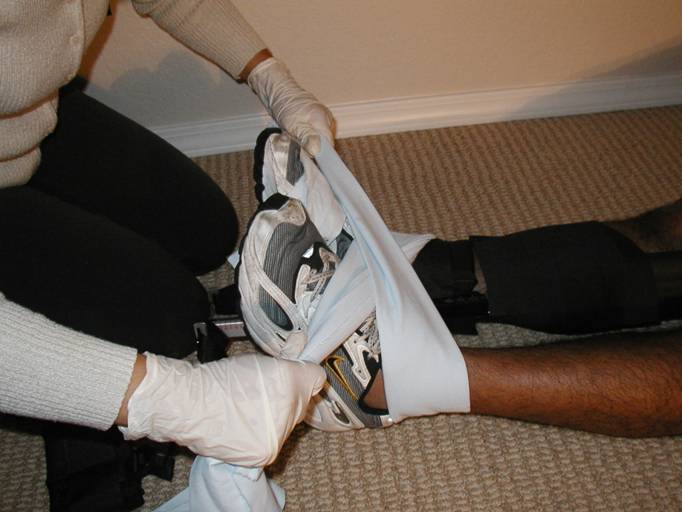
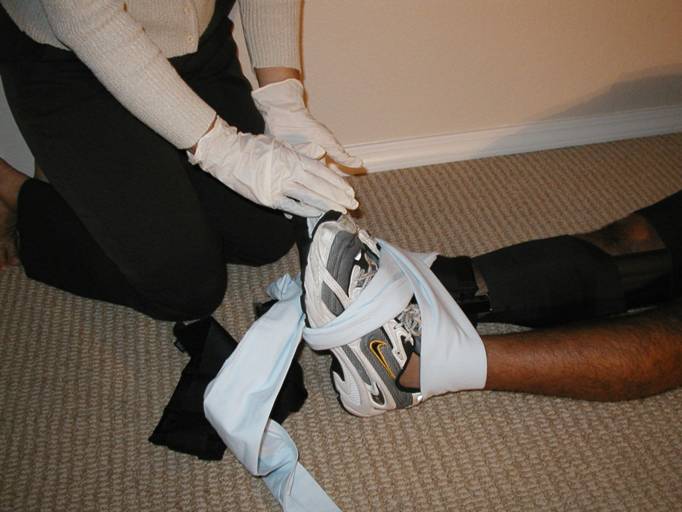
The
booty goes over the foot for ski boots (as shown here
even
though we don’t have ski boots on the patient – course
this patient never has ski boots on..)
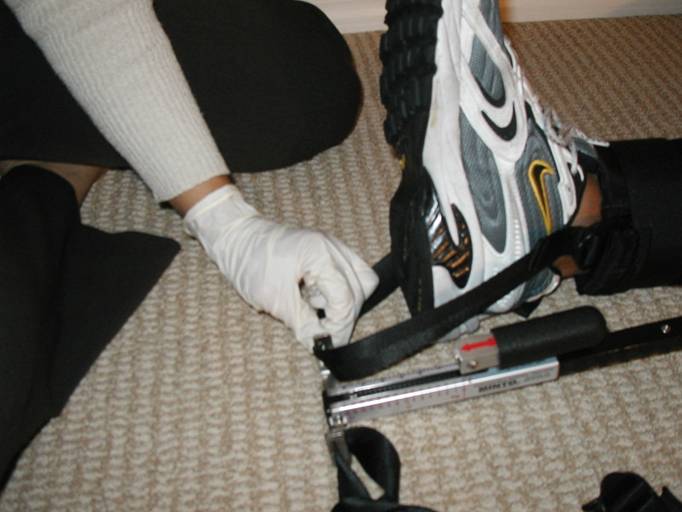
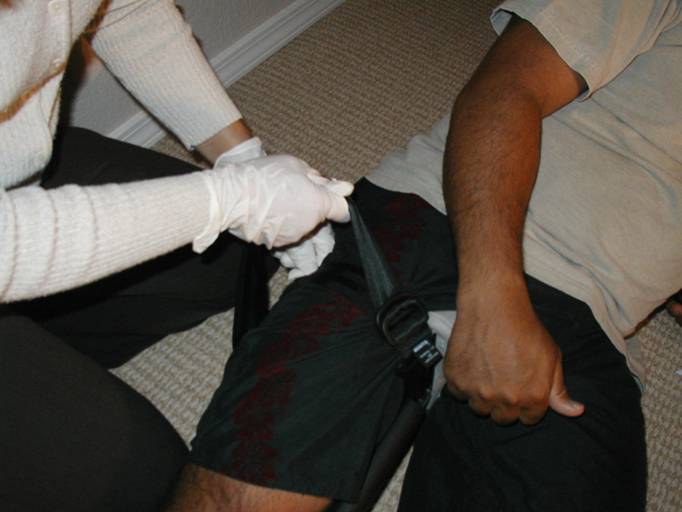
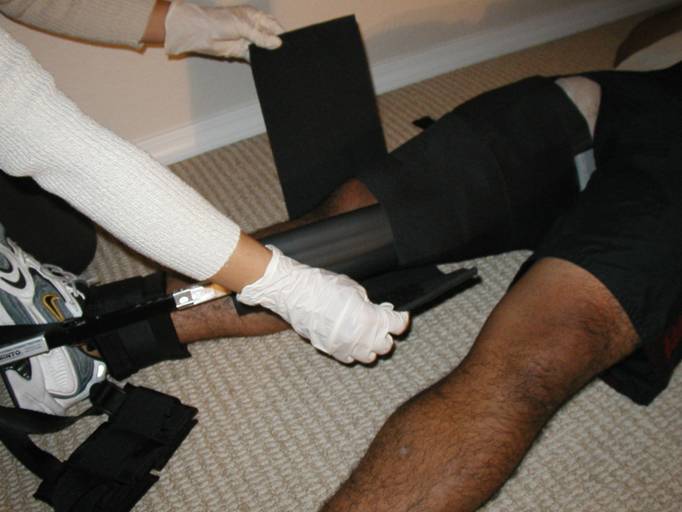
Attach
the sager booty to the bilateral splint. Make sure there
are no twists in the belt.
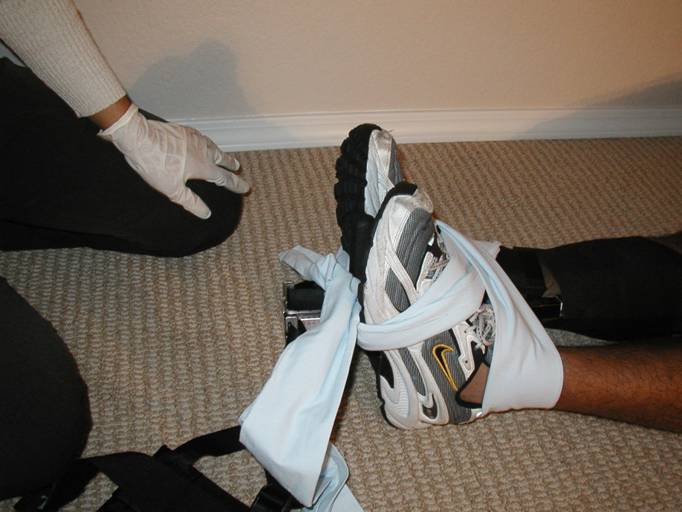
Tighten
the booty until one of two things occurs:
1) Bottom of sager is
directly beneath the foot.
2) All slack comes out
of the strap
It’s
important to not over-tighten the strap as this will put
traction
on the leg.
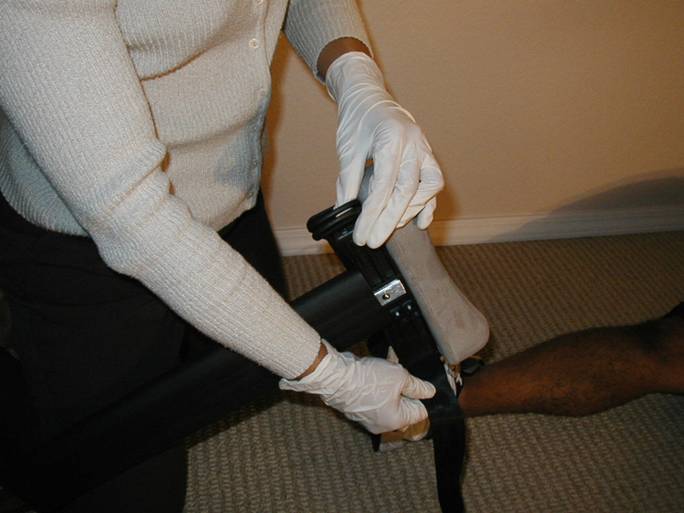
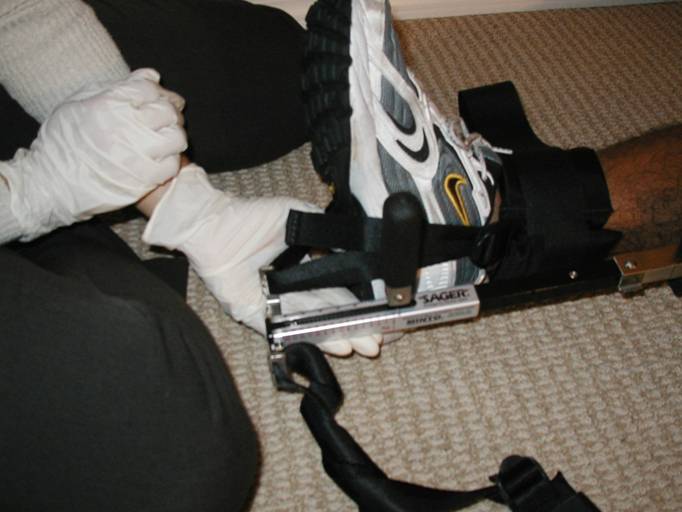
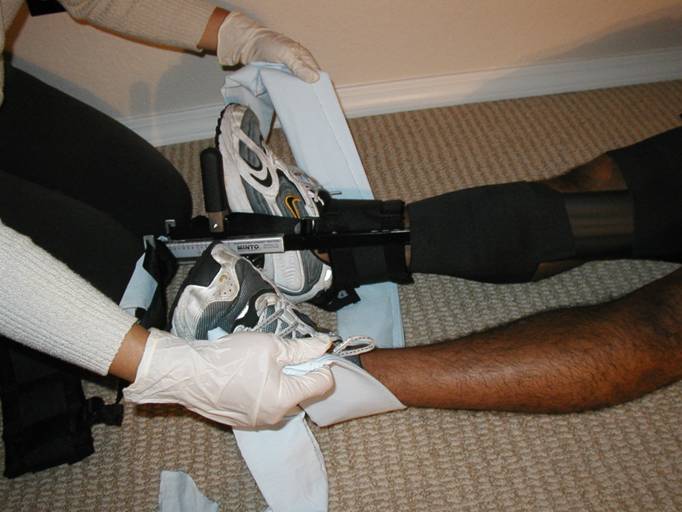
Pull
traction by:
1) Pushing with one arm
on the splint into the patient’s crotch.
2) Pulling on the handle
one click at a time.
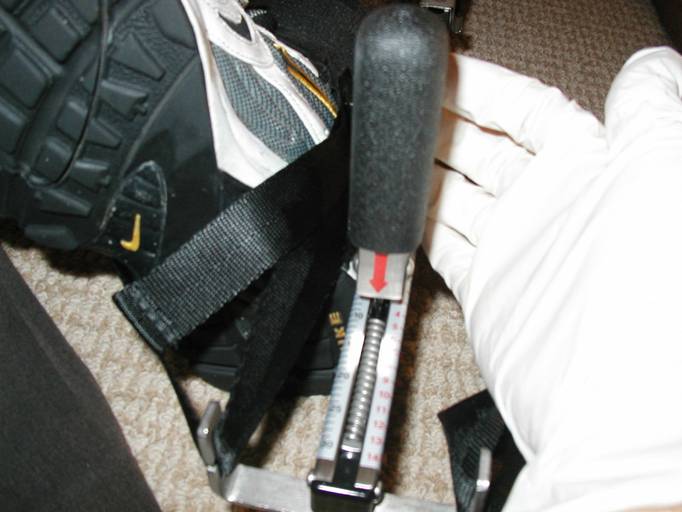
Read
the traction setting – black readings are in lbs, red are
in
kg. Make sure you pull lbs..
Maximum
traction applied to a single leg should be 15 lbs. or
10%
of body weight – whichever is LESS.
Maximum
traction applied to dual lets should be 30 lbs or
20%
of body weight – whichever is LESS.
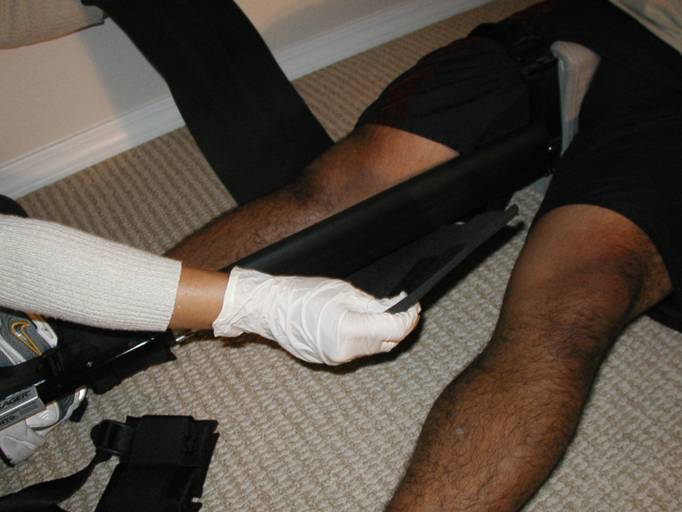
All
sager belts will be threaded under the gap in the knee.
Grab
the large sager belt and bring it through. Be careful
with
the belts to keep the snow out of the Velcro otherwise
it
will not work.
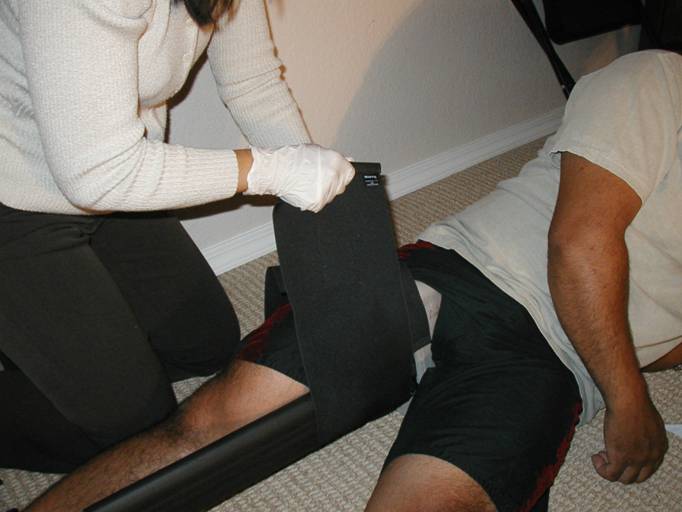
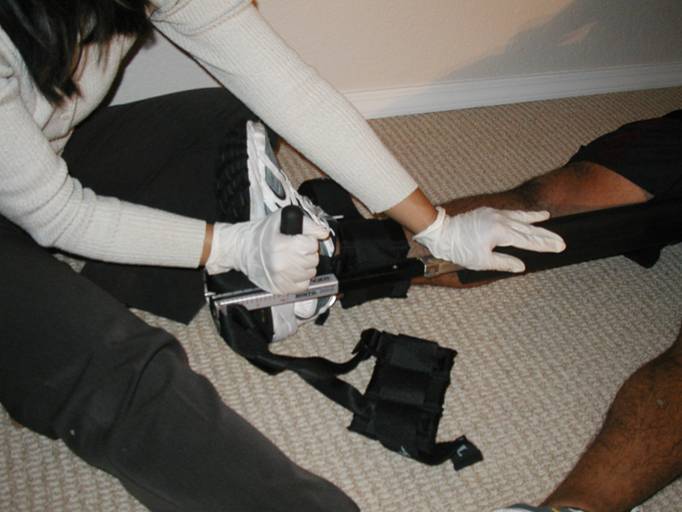
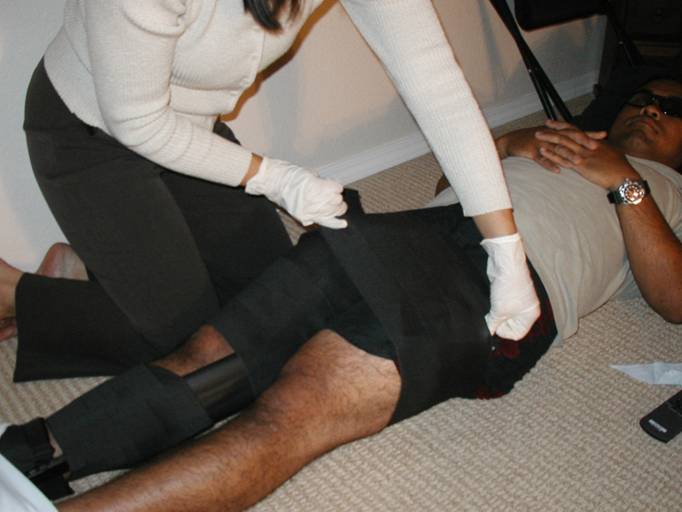
Position
the large sager as high on the leg as you can get it
and
securely fasten it to the leg. It’s perfectly fine for Sager
belts
to go over the injury. It helps secure the injury and
adds
direct pressure to help control bleeding.
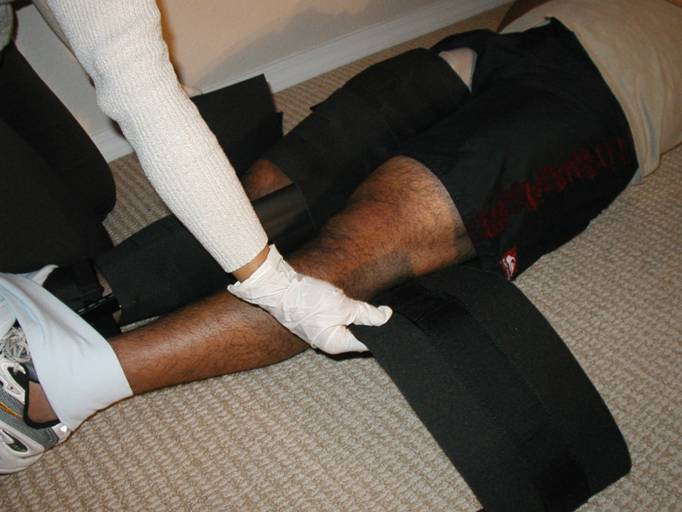
Bring
the next short belt under the knee just like the first
belt.
Depending
on patient, position this belt above the knee or
below
the knee. It’s important to not put it over the knee.
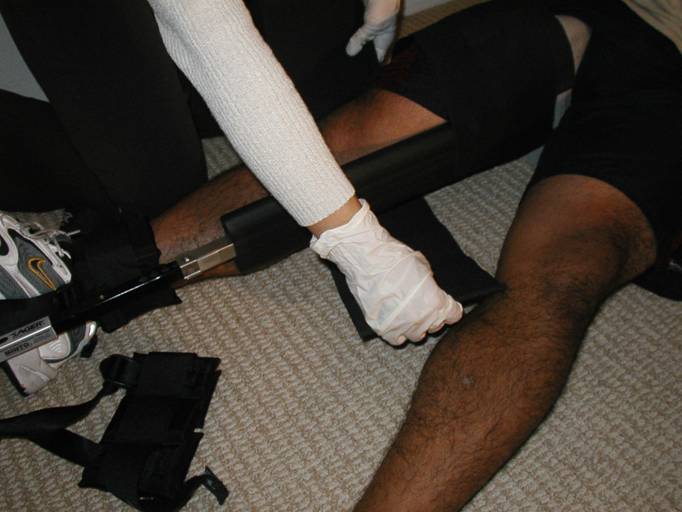
Position
the third sager belt under the knee.
Attach
the third sager belt just above the booty on the lower
leg.
Cravat
the legs together by running a cravat under the
ankles
– just like we do for backboards.
Bring
the Huge sager belt under the knees of both legs.
Secure
both legs together with the huge sager belt.
In
the case of a bilateral injury, you would hook up the
second
booty prior to pulling traction. You’d use 3 sager
belts
on the limb which was injured the most severely and
then
wrap the big belt at the end around both.
Finally,
check distal CSM and you’re done..